Master Xbox Series X Setup in 5 Simple Steps!
The Xbox Series X is a powerhouse of a console, designed to offer you the best gaming and entertainment experience possible. But to fully tap into its potential, you’ll need to set it up correctly. As someone who’s worked with various gaming consoles over the years, I’ve picked up plenty of tips to make the setup process smooth and effective. Let’s break down how to master the Xbox Series X setup in just five simple steps, so you can get gaming as quickly as possible!
Step 1: Unboxing and Physical Setup
What’s Inside the Box?
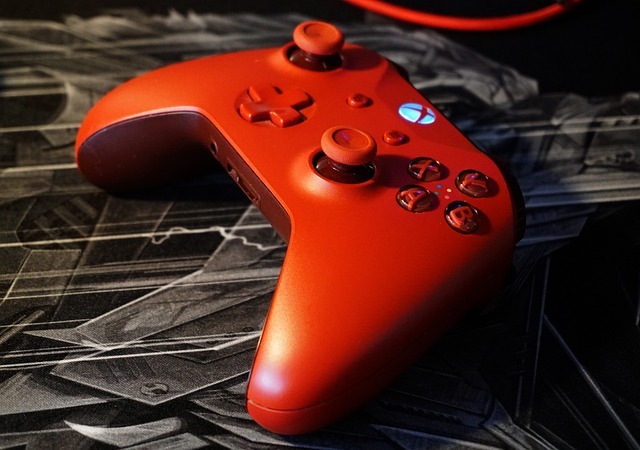
First, let’s take a look at what you’ll find when you open up your Xbox Series X box. Inside, you’ll find the console, an Xbox Wireless Controller, the power cable, an HDMI 2.1 cable, and a quick-start guide. Make sure everything is included and in good condition before proceeding. One small piece of advice: keep the box and packaging for at least a few weeks. If anything goes wrong, having the original packaging can make returns or exchanges easier.
Console Positioning: Vertical or Horizontal?
The Xbox Series X can be positioned either vertically or horizontally, and the choice is mostly up to your personal preference and available space. From my experience, I recommend the vertical setup. It’s sleek, takes up less room, and provides better airflow, which can help keep the console cooler during intense gaming sessions.
The console comes with a stand that provides extra stability, so if you do choose the horizontal position, make sure to use it. I’ve noticed that this can help avoid dust buildup underneath the console, which is always a plus for long-term maintenance.
Connecting the Power and HDMI
Now that your console is positioned, it’s time to connect it. Plug the power cable into the back of the Xbox and the other end into a power outlet. Next, grab the included HDMI 2.1 cable and connect it from the console to your TV. The HDMI 2.1 cable is essential because it supports 4K resolution at 120Hz, ensuring the best picture quality and smooth gameplay—especially for competitive gaming or fast-paced action games.
Pro Tip: If your TV supports HDMI 2.1, always use the included cable for maximum performance. If it doesn’t, don’t worry—the console will adjust the settings automatically based on your TV’s capabilities.
Step 2: Initial Software Setup
First Power-On
After plugging in your console and connecting it to your TV, it’s time to power on the Xbox Series X. Press the power button on the front of the console or press the Xbox button on your Wireless Controller to turn it on. The system will prompt you to sync your controller—just press and hold the sync buttons on both the console and the controller until they connect.
Connecting to the Internet
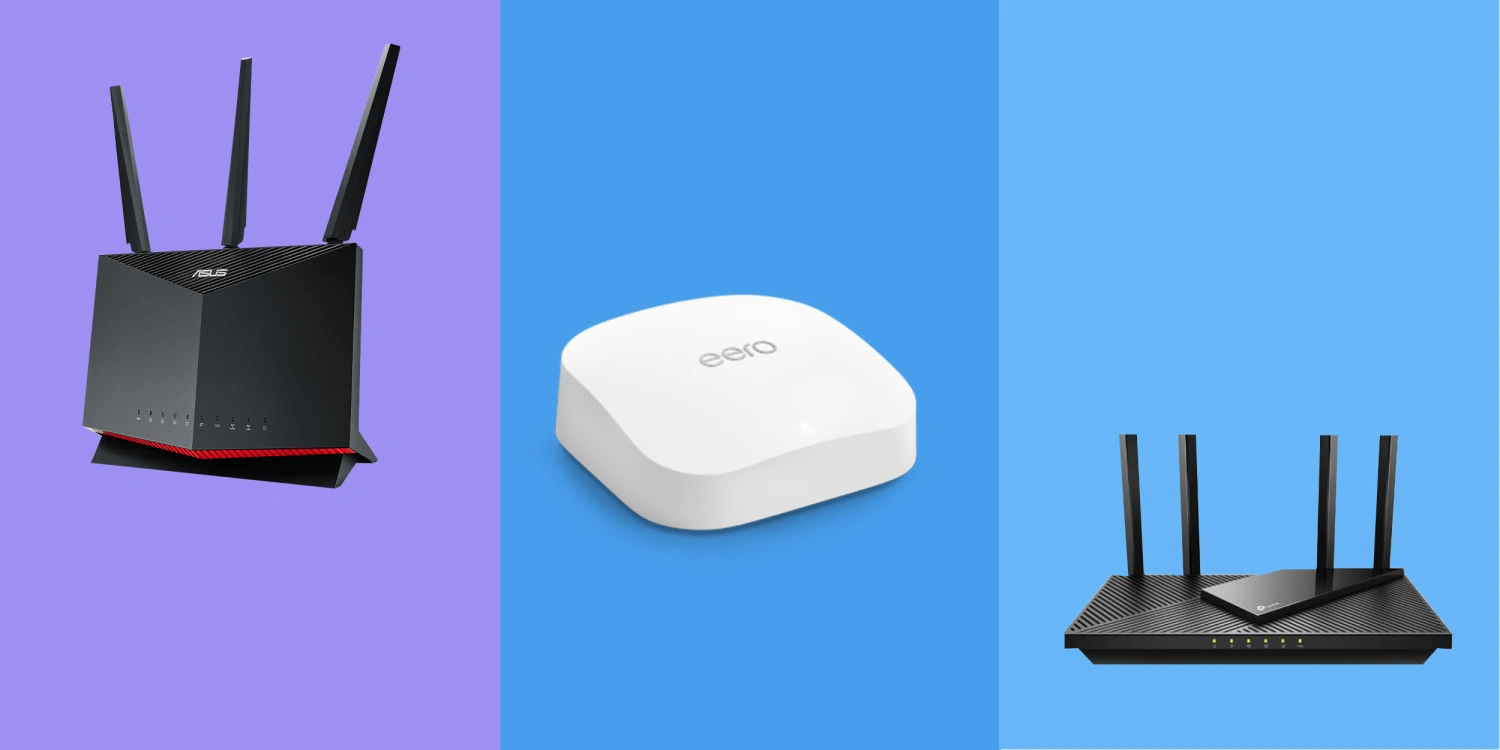
One of the first things the system will ask you to do is connect to the internet. Here, you have two options: wired Ethernet or wireless Wi-Fi.
– Wired Connection: This is the best option if your console is close to your router. Wired connections offer faster speeds and greater stability, especially when downloading large games or playing online multiplayer.
– Wireless Connection: If your console is far from the router, Wi-Fi is a good alternative. Just keep in mind that wireless signals can fluctuate depending on interference and distance from the router.
Personally, I prefer using a wired connection. Not only does it reduce any lag during online gameplay, but it also speeds up downloads—essential for those hefty 100GB next-gen game files!
Setting Up Your Xbox Account
Next, log into your Xbox Live account. If you don’t have one, it’s easy to create a new account during setup. Your Xbox Live account is essential for accessing online gaming, game purchases, Xbox Game Pass, and more. This account will also save your game progress and sync your achievements across all your Xbox devices.
Step 3: Display and Audio Optimization
Optimizing 4K and HDR Settings
To truly experience the power of the Xbox Series X, you’ll want to make sure your display settings are optimized. Head over to Settings > General > TV & Display Options and select 4K UHD under the resolution settings if your TV supports it. Also, make sure HDR (High Dynamic Range) is enabled. This feature enhances colors and contrast, making games look more vibrant and immersive.
I’ve played around with both 60Hz and 120Hz refresh rates, and if your TV supports 120Hz, the difference is remarkable. Especially in fast-paced games like Halo Infinite or Forza Horizon 5, the smoothness is undeniable.
Fine-Tuning Audio Settings
For the best audio experience, especially in immersive games, head over to Settings > Volume & Audio Output. If you’re using a surround sound system, soundbar, or even high-quality headphones, you can select Dolby Atmos or DTS:X to get spatial sound, which makes it feel like audio is coming from all around you.
Pro Tip: Enable Dolby Atmos if your sound system supports it. The added depth in audio makes a huge difference, especially in FPS games where directional sound gives you a tactical edge.
Step 4: Installing Games and Managing Storage
Installing Your First Game
Now that your Xbox is set up and ready, it’s time to install some games. You have two options: physical discs or digital downloads. If you’ve purchased a physical game, simply insert the disc, and the console will begin installing the game onto its SSD. For digital games, head to the Xbox Store, find your game, and download it directly to your console.
In my experience, digital downloads are the way to go, as they’re faster and don’t require physical storage space. But beware—those large next-gen games can quickly eat up your console’s internal storage.
Managing Storage Space
Speaking of storage, the Xbox Series X comes with a 1TB SSD, but after system files and pre-installed content, you’ll have about 800GB of usable space. With games like Cyberpunk 2077 and Call of Duty exceeding 100GB each, this space can fill up quickly.
To check your storage, go to Settings > System > Storage. From here, you can see how much space each game is using and delete any you’re not currently playing. If you need more space, you can either use an external USB drive or, for the fastest performance, opt for the Seagate Expansion Card specifically designed for the Xbox Series X.
Step 5: Customizing Your Xbox Experience
Personalizing Your Home Screen
The Xbox Series X lets you personalize your home screen, so it feels uniquely yours. You can change the background theme, organize your games and apps, and pin your favorite ones for quick access. To do this, go to Settings > Personalization > My Background. You can choose between solid colors, dynamic backgrounds, or even custom images.
I love using dynamic backgrounds, as they give the dashboard a sleek, modern look. Plus, pinning your most-played games makes navigation a breeze.
Configuring Power and Startup Settings
One thing you’ll want to configure right away is your power mode. Xbox offers two options: Instant-On and Energy-Saving.
– Instant-On: Boots up the console in just a few seconds and allows you to download updates in the background.
– Energy-Saving: Takes longer to boot up but uses significantly less power.
I personally keep mine on Instant-On because I like being able to jump back into my games quickly, and I appreciate the convenience of background downloads.
Setting Up Game Pass and Xbox Live
If you haven’t already, now’s the time to set up Xbox Game Pass or Xbox Game Pass Ultimate. With Game Pass, you get access to hundreds of games, including new releases, for a monthly fee. It’s one of the best deals in gaming, especially if you enjoy playing a variety of titles.
Conclusion
Setting up your Xbox Series X doesn’t have to be complicated, and with these five simple steps, you’ll have your console ready to deliver the ultimate gaming experience. From unboxing and optimizing your display to managing storage and personalizing your settings, you’re now fully equipped to enjoy everything your Xbox Series X has to offer. With the right setup, this console isn’t just a gaming machine—it’s a full entertainment hub that will keep you immersed for hours. So go ahead, fire up that first game, and experience next-gen gaming at its finest!


